Remote control for vacuum cleaner
The vacuum cleaner has to be one of my most used tools. Whenever I am working on something (especially in a workshop) I like to keep the vacuum cleaner at arms reach, in order to quickly get rid of any debris.
It’s extra convenient to have a switch right on the handle, so you can turn it on right away when grabbing it. Some models actually do have this feature, and we have one of these at my parents place. However, my vacuum cleaner doesn’t have this convenience and I quickly started to miss it, so I wanted to add it myself.
The plan
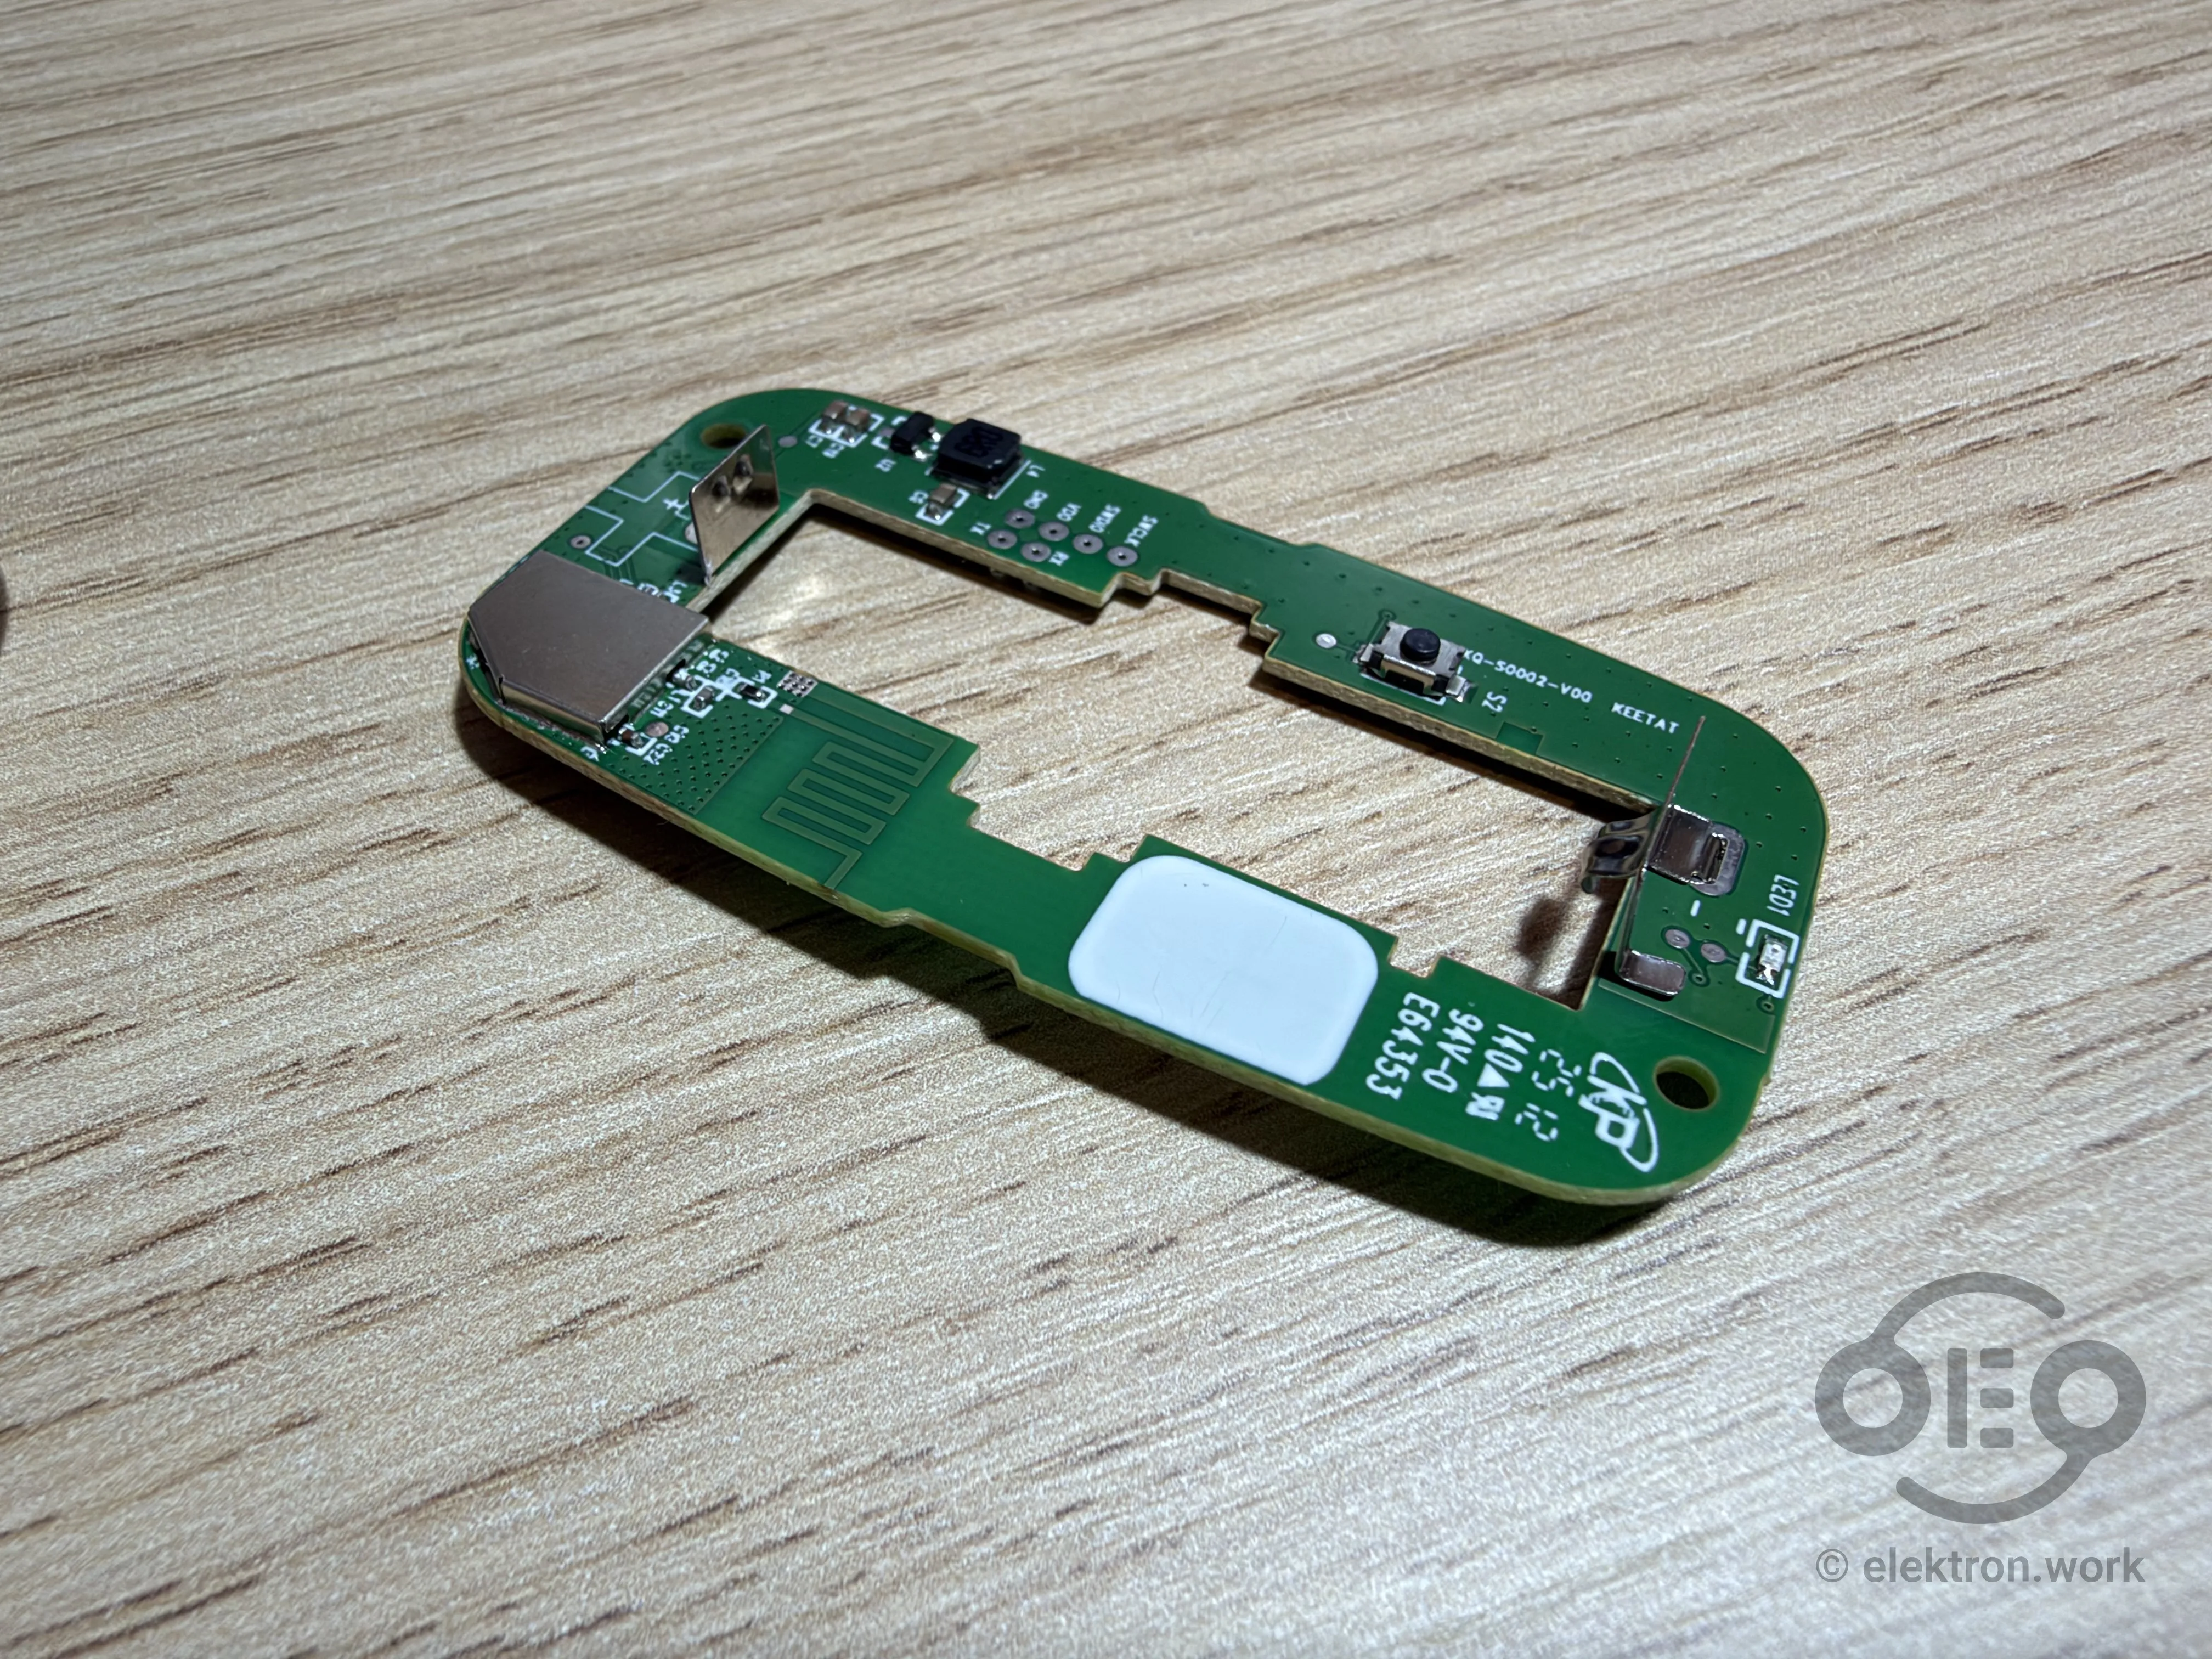
In order to avoid starting another from-scratch project that I never get to finish I decided to use an off-the-shelf ZigBee outlet (Ikea TRETAKT) and remote (Ikea RODRET) I had laying around and would then connect via Home Assistant. However, just taping the remote to the handle wasn’t satisfactory to me, so instead I used the electronics from the Ikea remote but added a custom enclosure and switch assembly to mount onto the vacuum cleaner handle.
Modeling the handle
I got started by taking a couple of pictures of the vacuum cleaner handle from as far away as possible in order to avoid projection distortion.
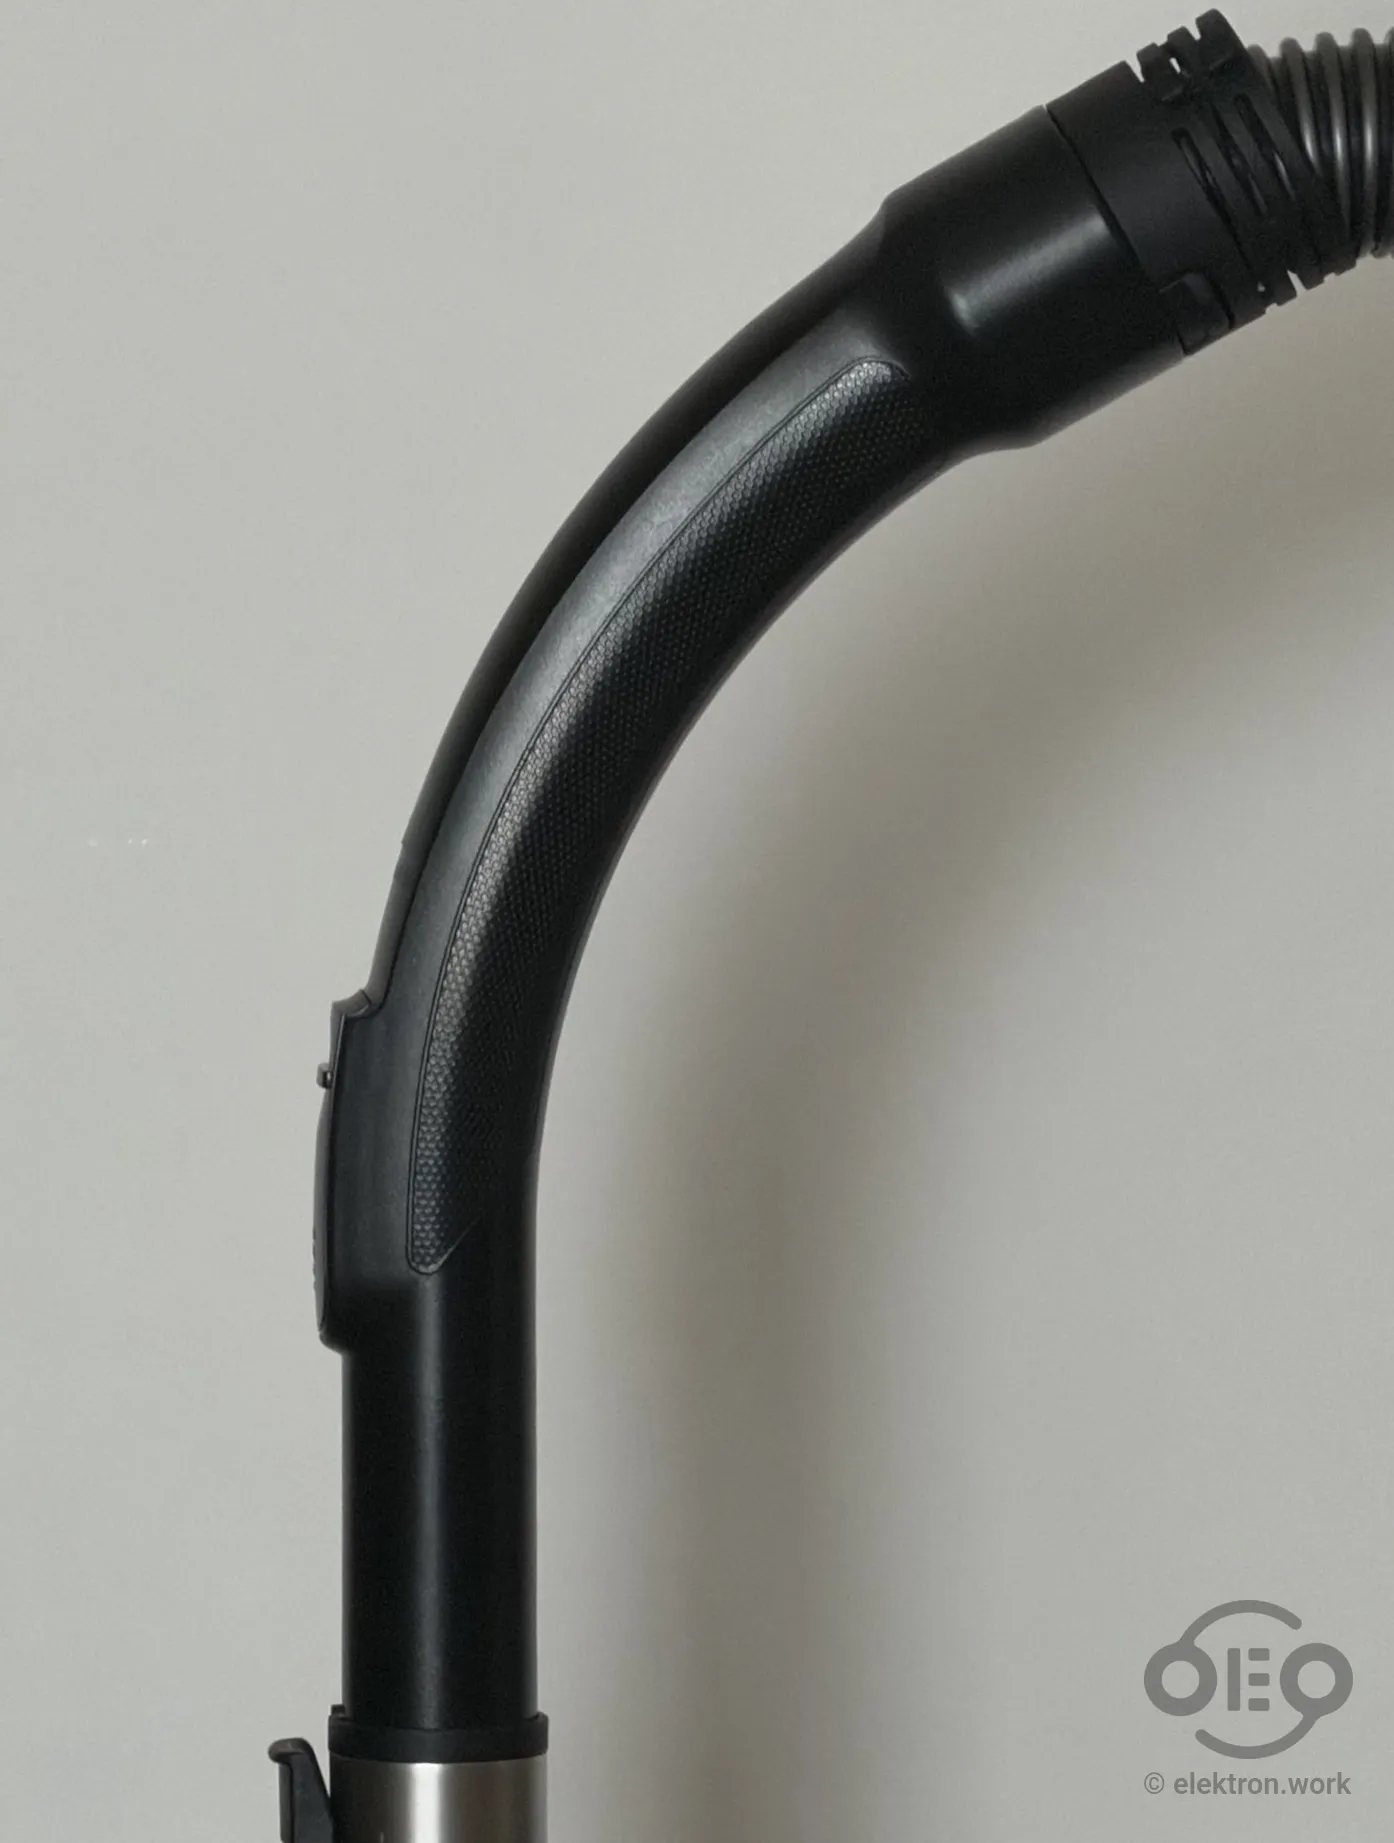
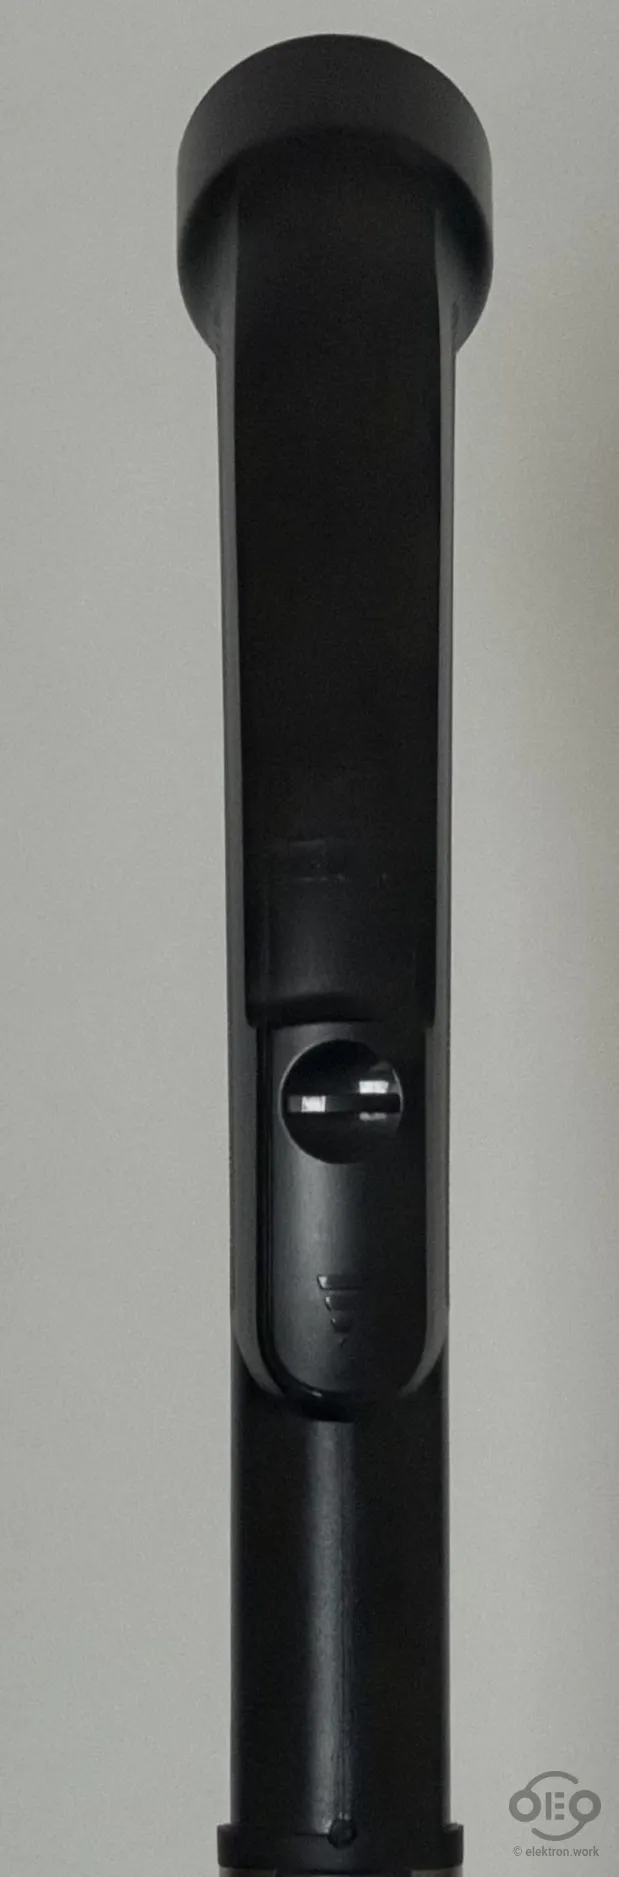
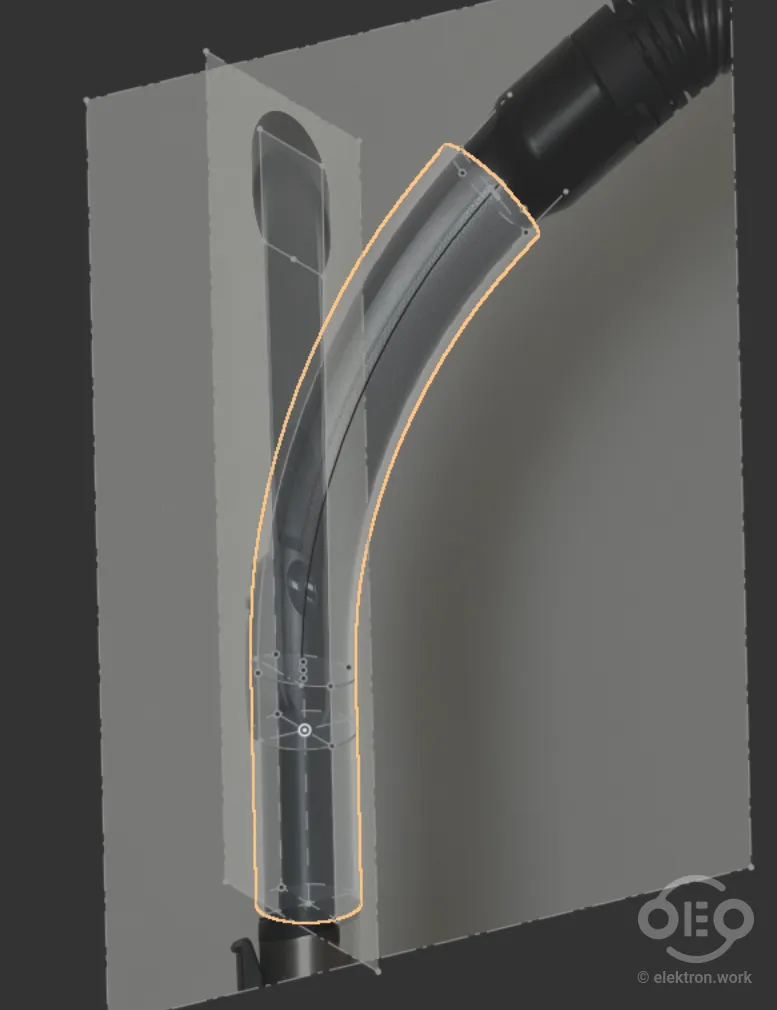
Using these pictures and some manual measurements I was able to create a rough model of the handle shape. It’s actually much more thought out than it seems at first. For example at the very front the pipe gets slightly narrower to fit into the attachment more easily, then it stays at a constant 35mm diameter for a bit before morphing into the more complicated handle shape.
Enclosure design
The idea now was to make a part to clamp onto the pipe. To this I would then attach the rest of the enclosure and switch mechanism. To make my life easier, I wanted to attach my device mostly to the constant 35mm section, but to get the switch to a comfortable position I still had to take the weird shape of the pipe into account a little bit.
What I ended up with looks something like this:
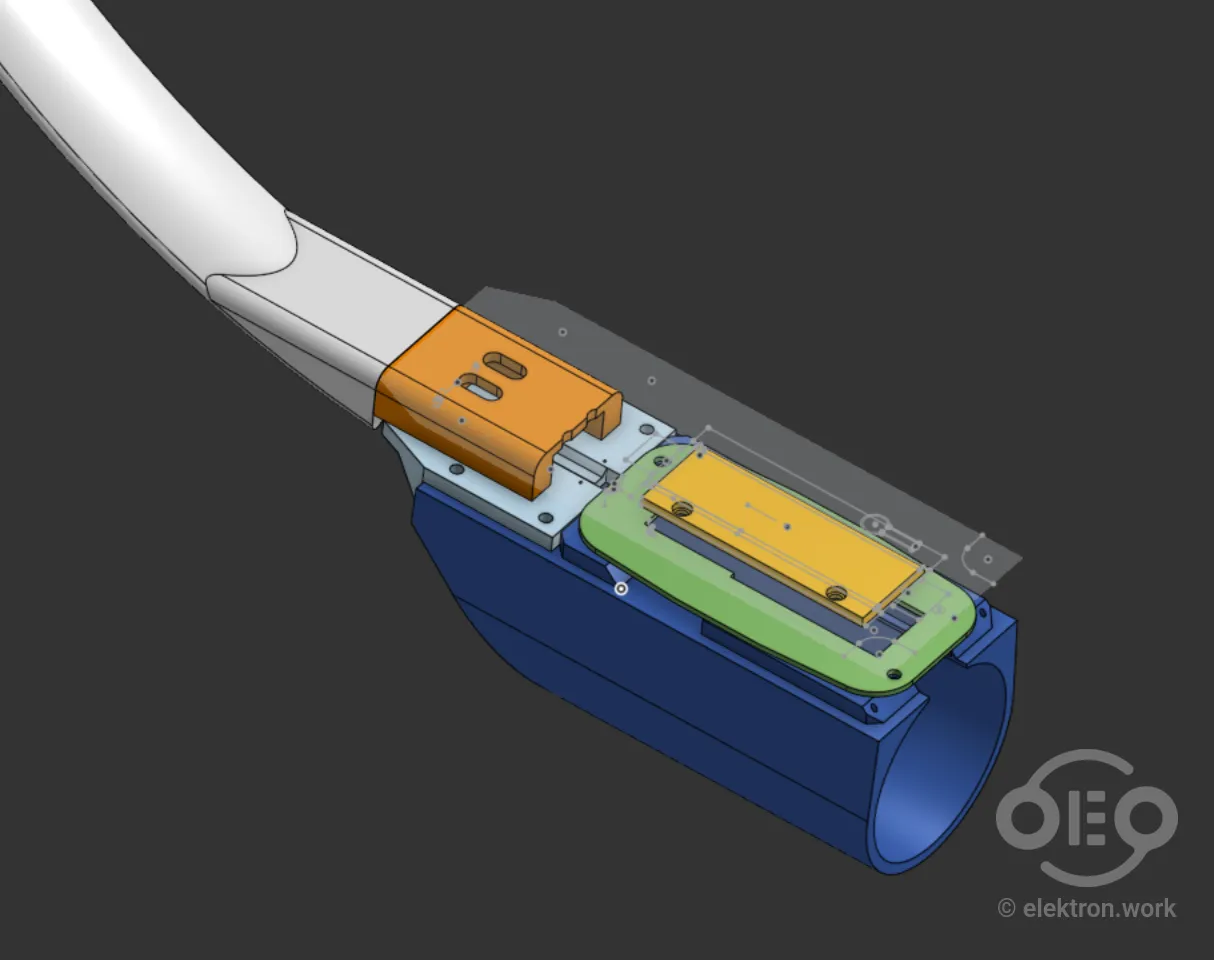
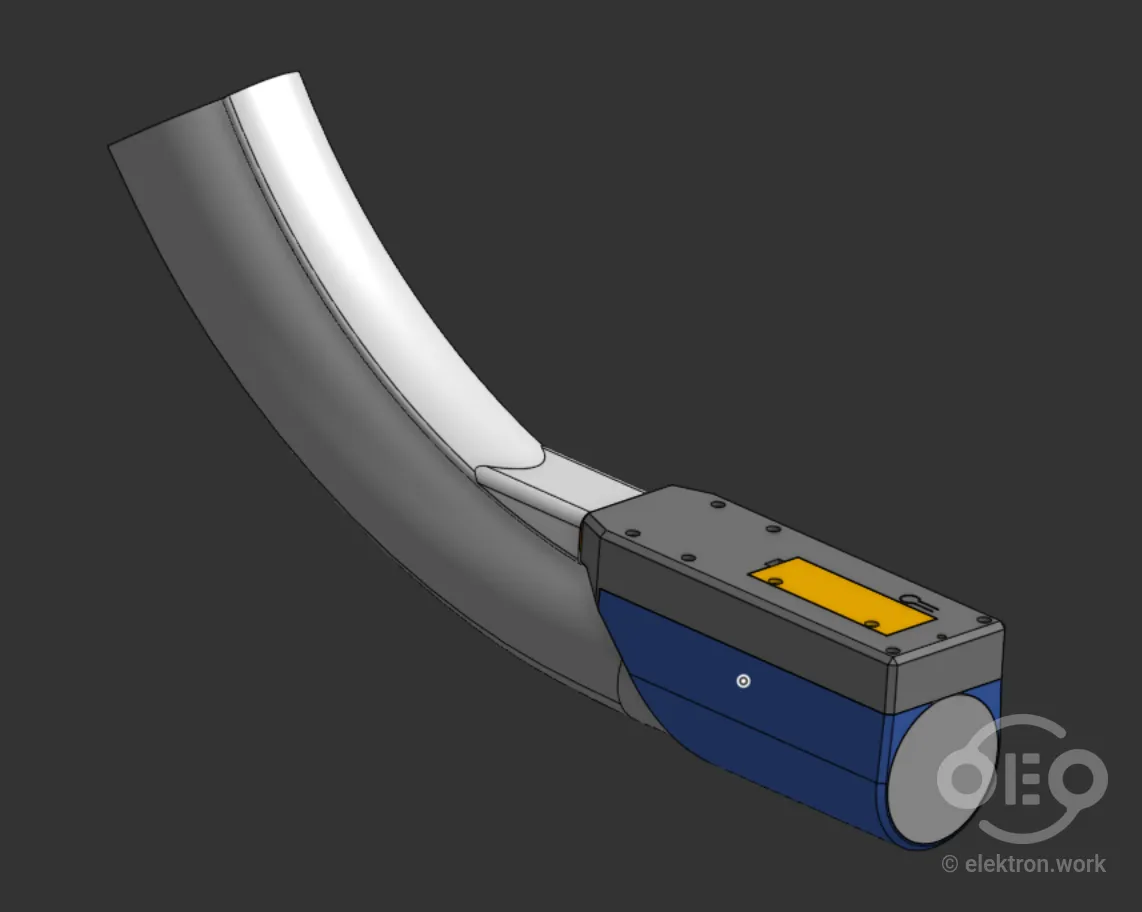
The electronics live at the bottom with a trigger-like switch arrangement at the top. I even added the compliant reset button and an accessible battery compartment, the inner shape of which I modeled roughly after the original. It still took two attempts to get it to fit tough. An interesting detail is that the cutout for the battery in the PCB has a 1mm ledge on one side in order to fit the antenna and microcontroller. To get this to fit, they needed to remove a little bit of material from the battery compartment:
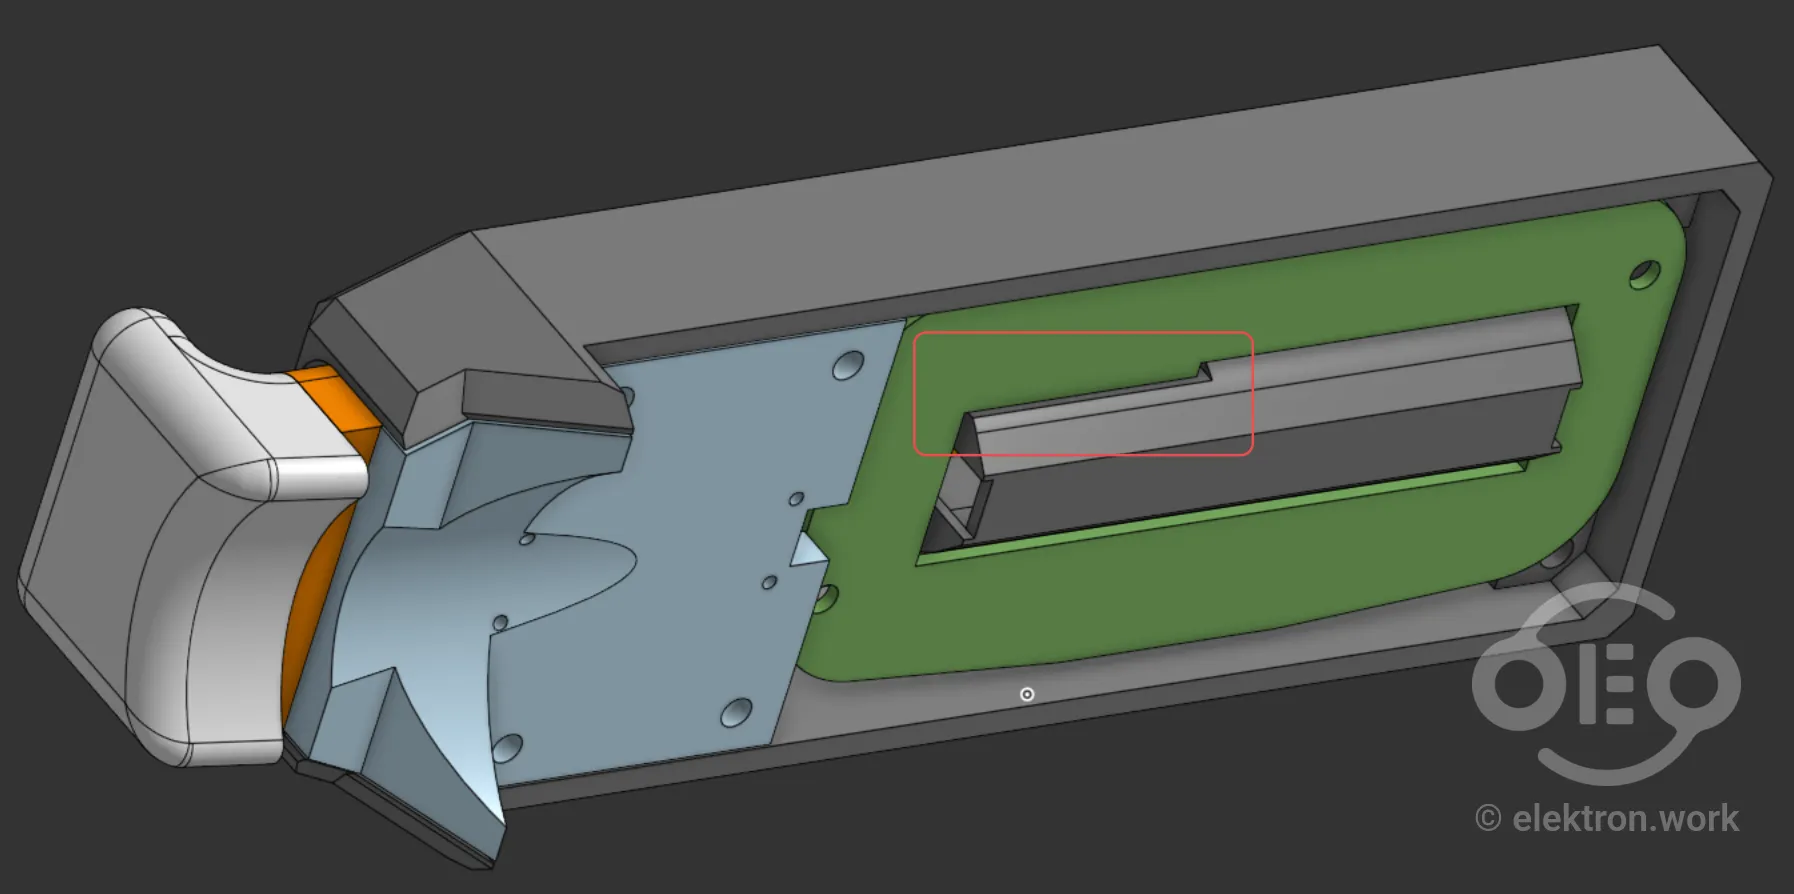
In this picture you can also see my final design for the trigger knob. I wasn’t sure how exactly it should look like, so I printed out all the other parts first to get a feel of how long the trigger has to be. I ended up opting for a very simple and short design that can easily be pushed pulled from a comfortable hand position.
To register the trigger presses I am using a slide mechanism to actuate two opposing micro switches. These switches simultaneously serve as springs. I the final design I optimized the thickness of the brace between the bar between the switches to reduce play.
Assembly
After printing, the trigger mechanism parts look like this:
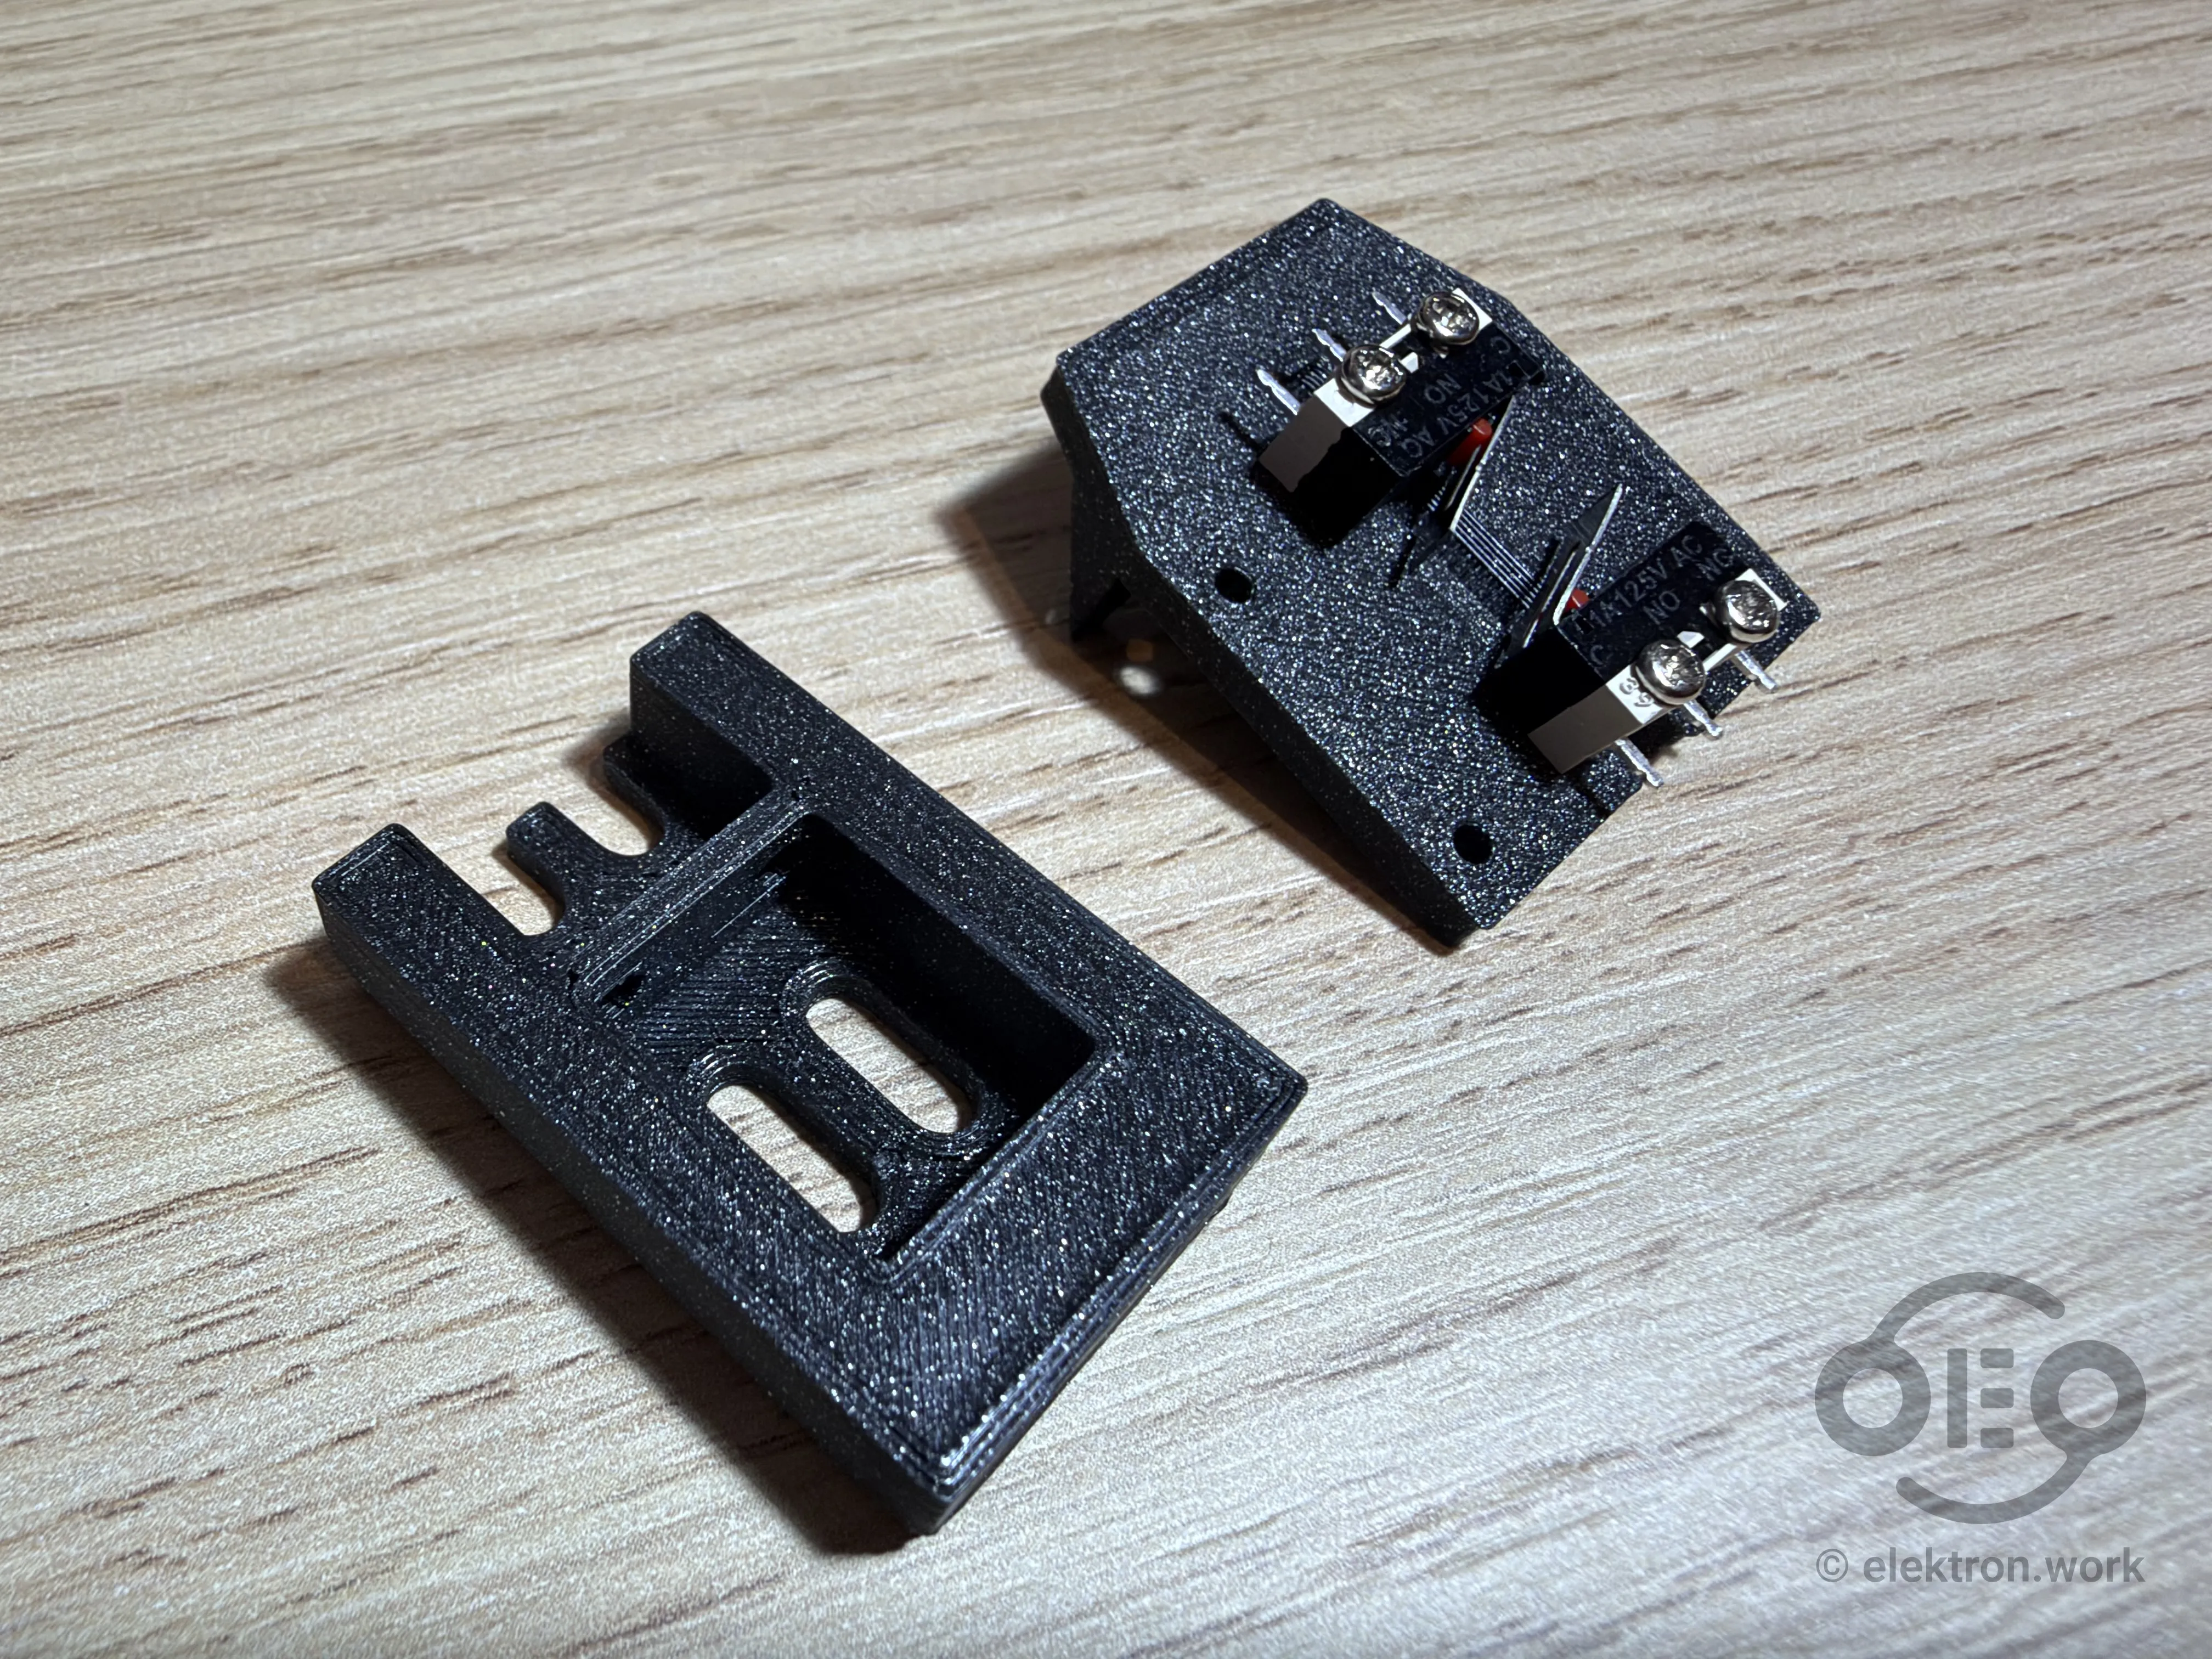
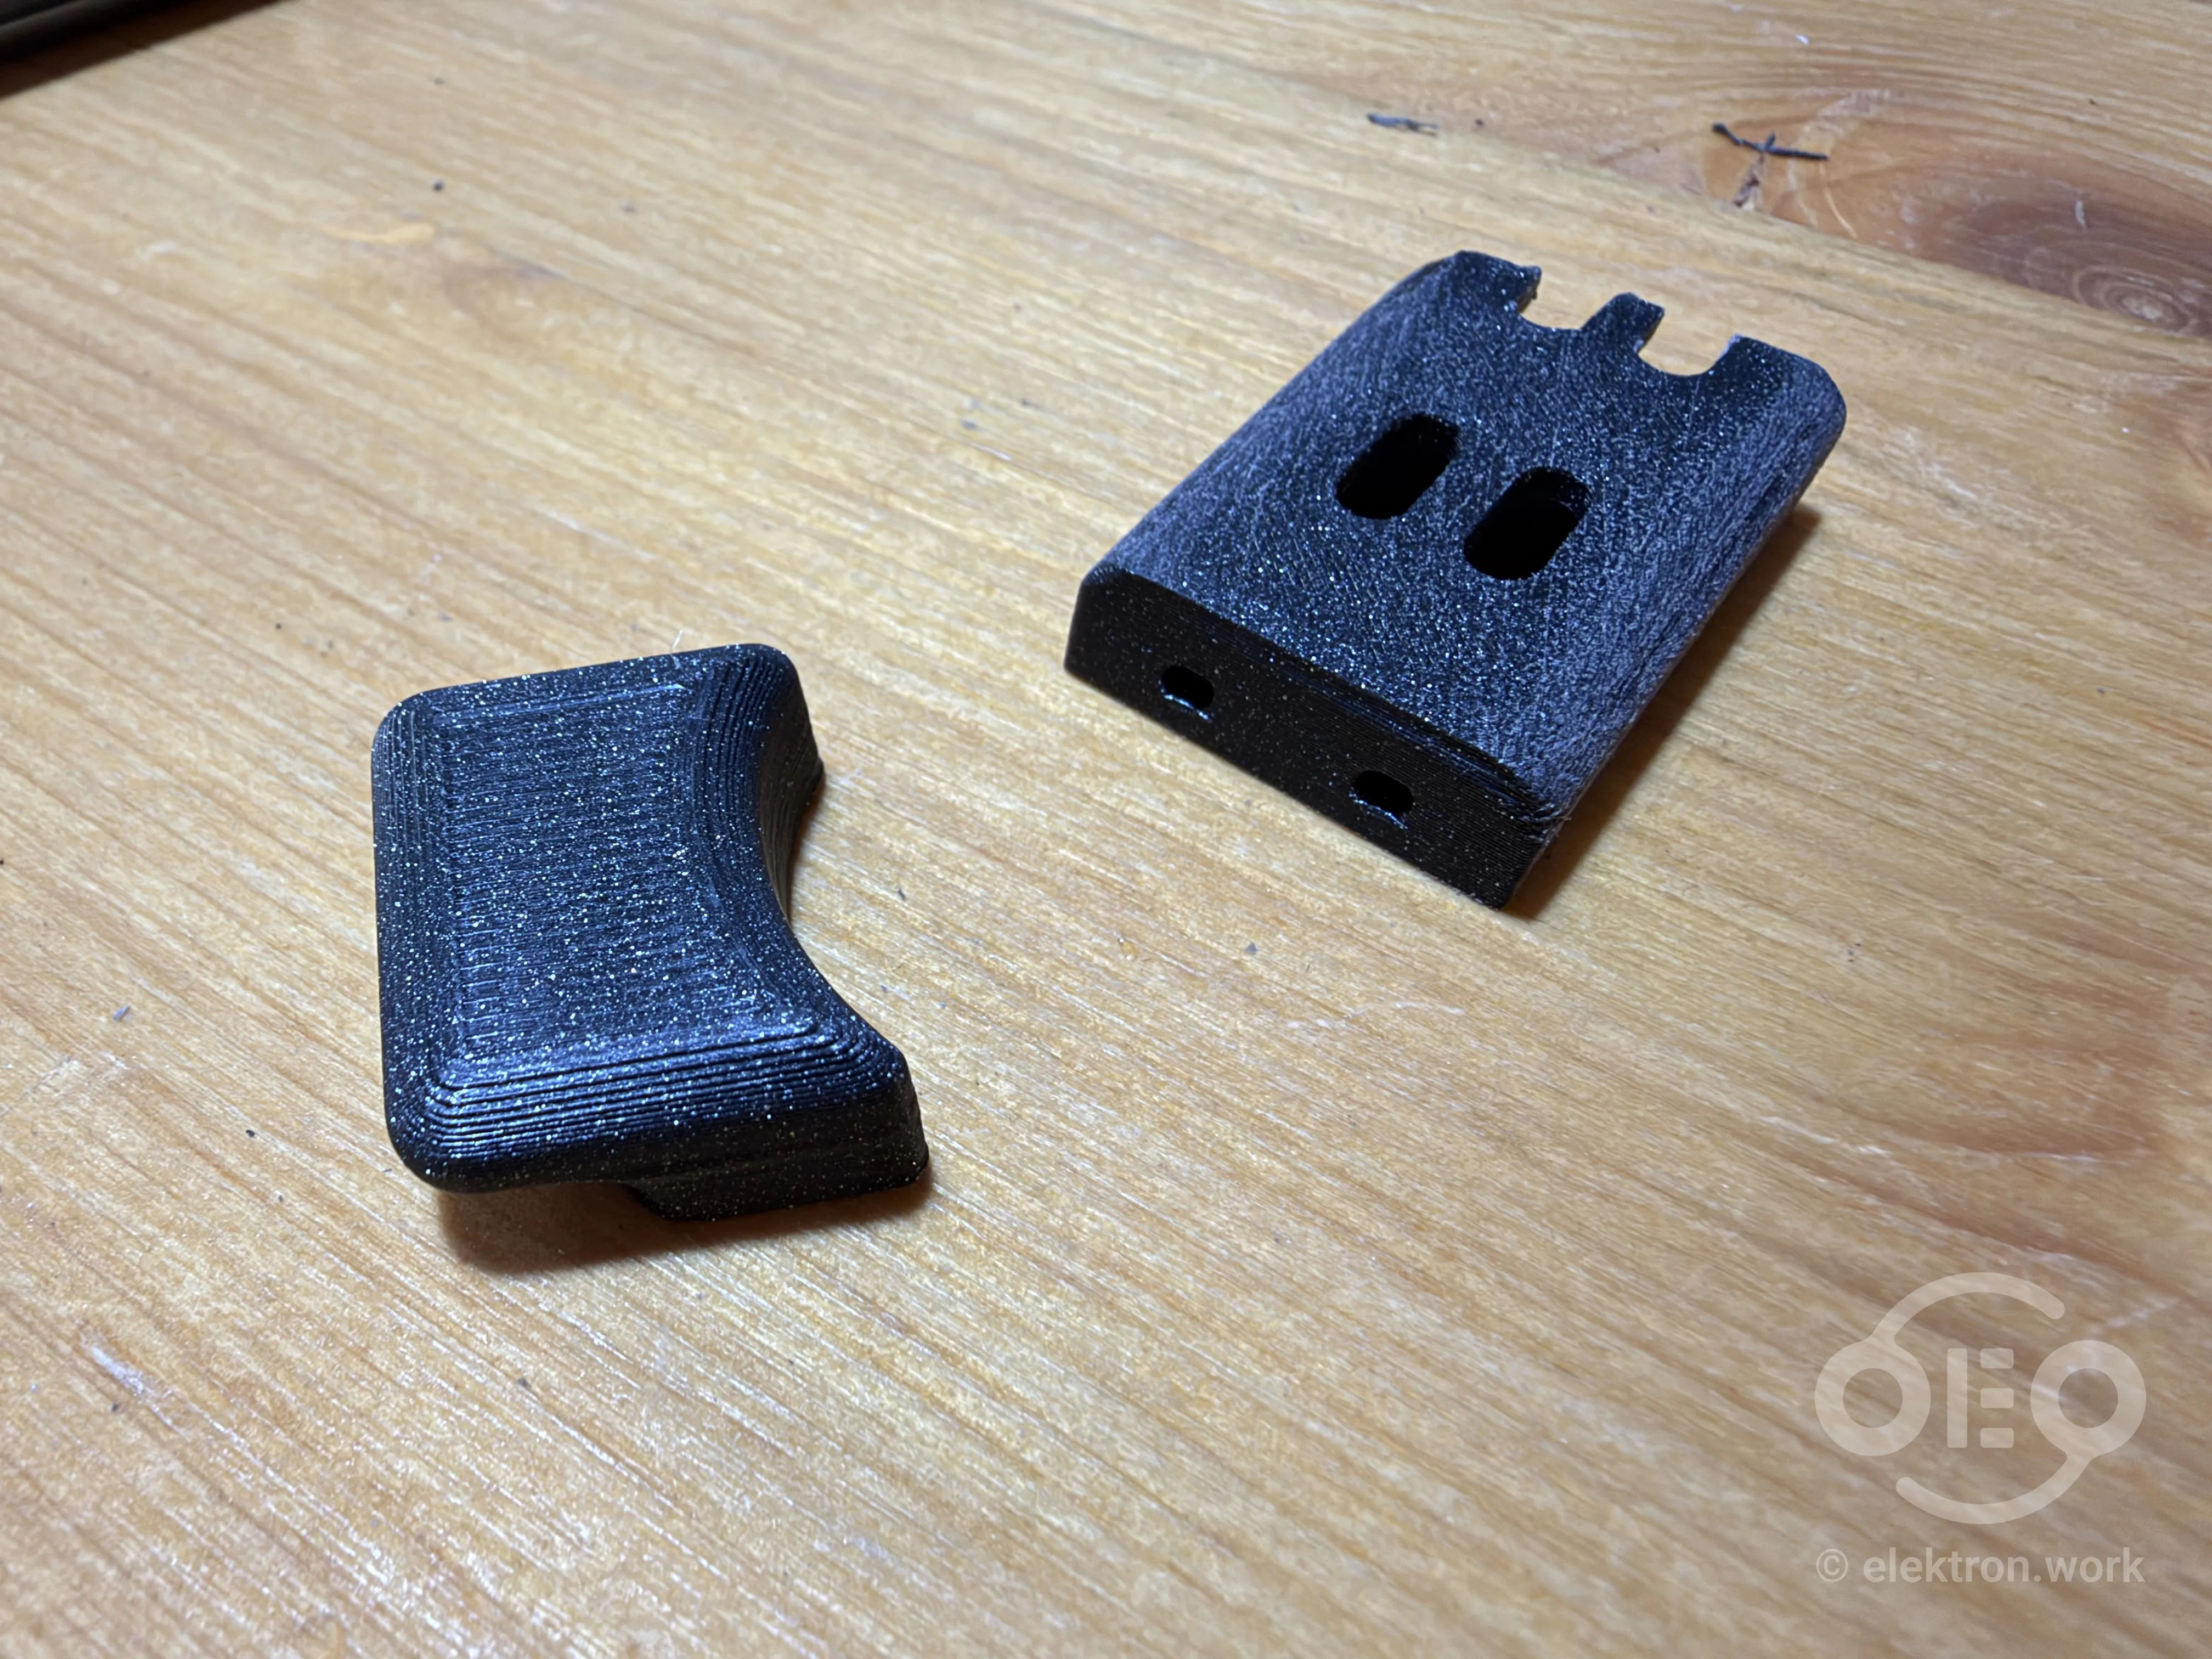
I slightly sanded down the top of the switch slide, because it didn’t come out completely round from 3D-printing. And after assembly it looks like this:
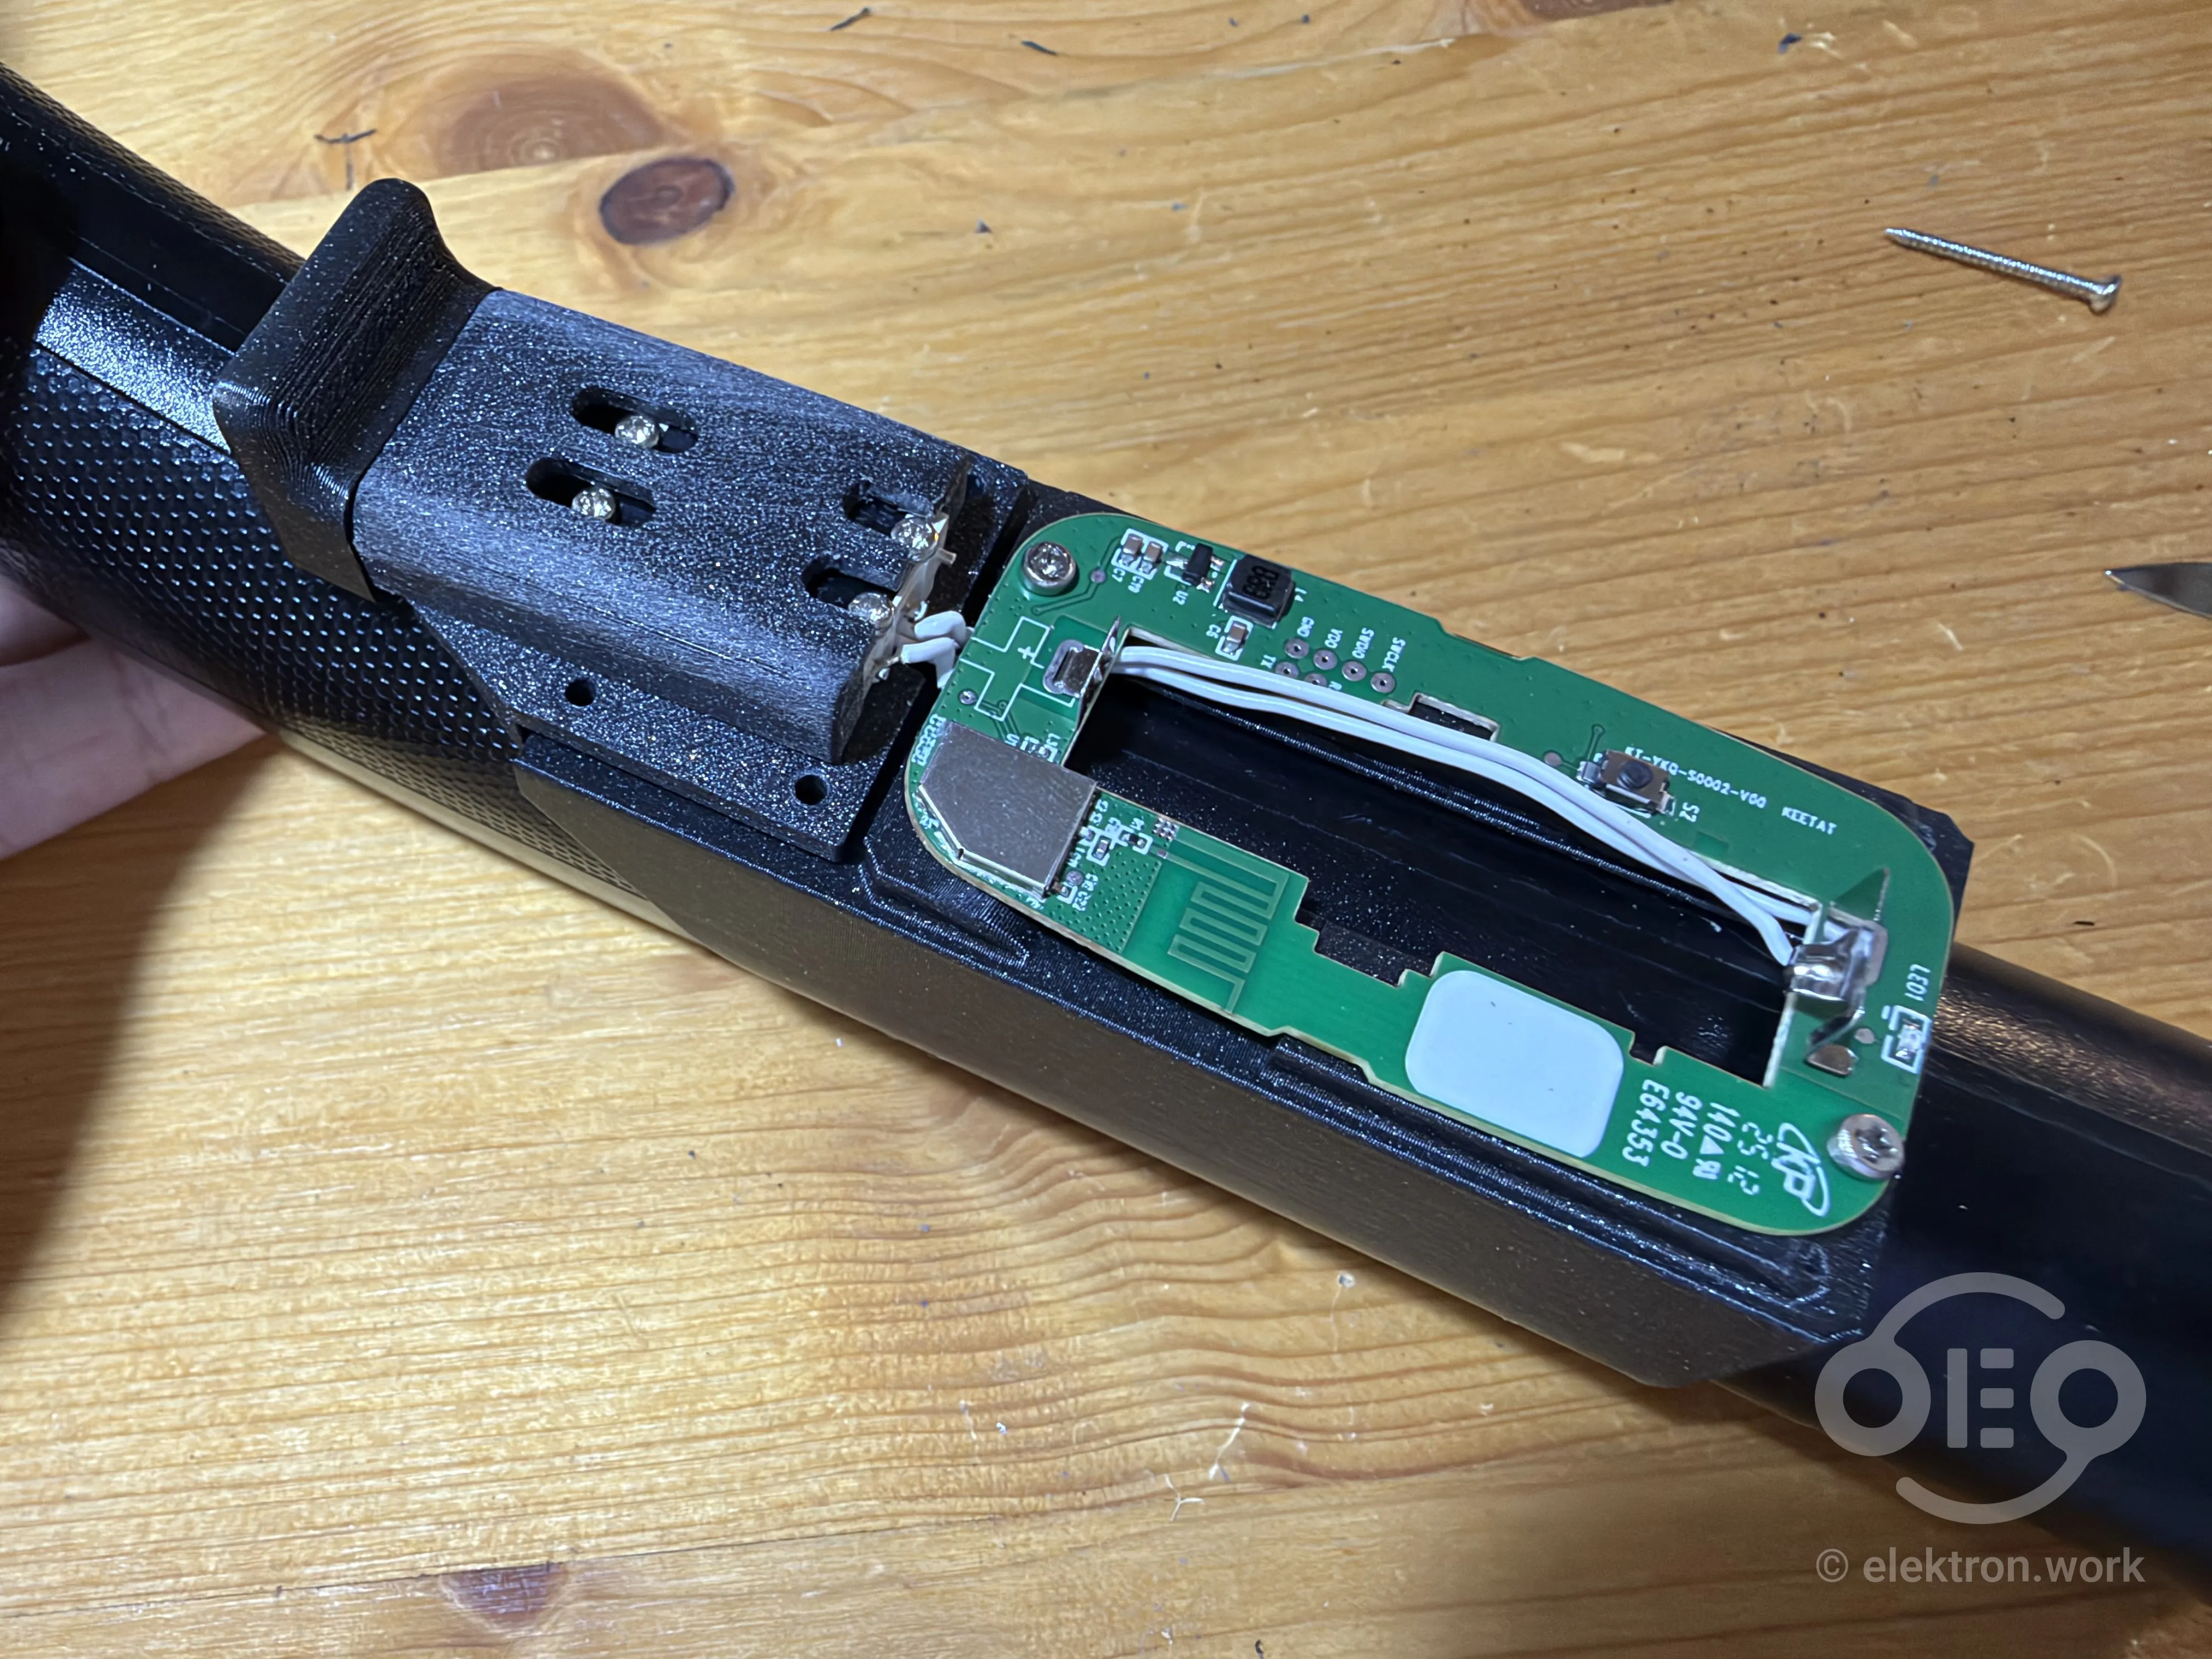
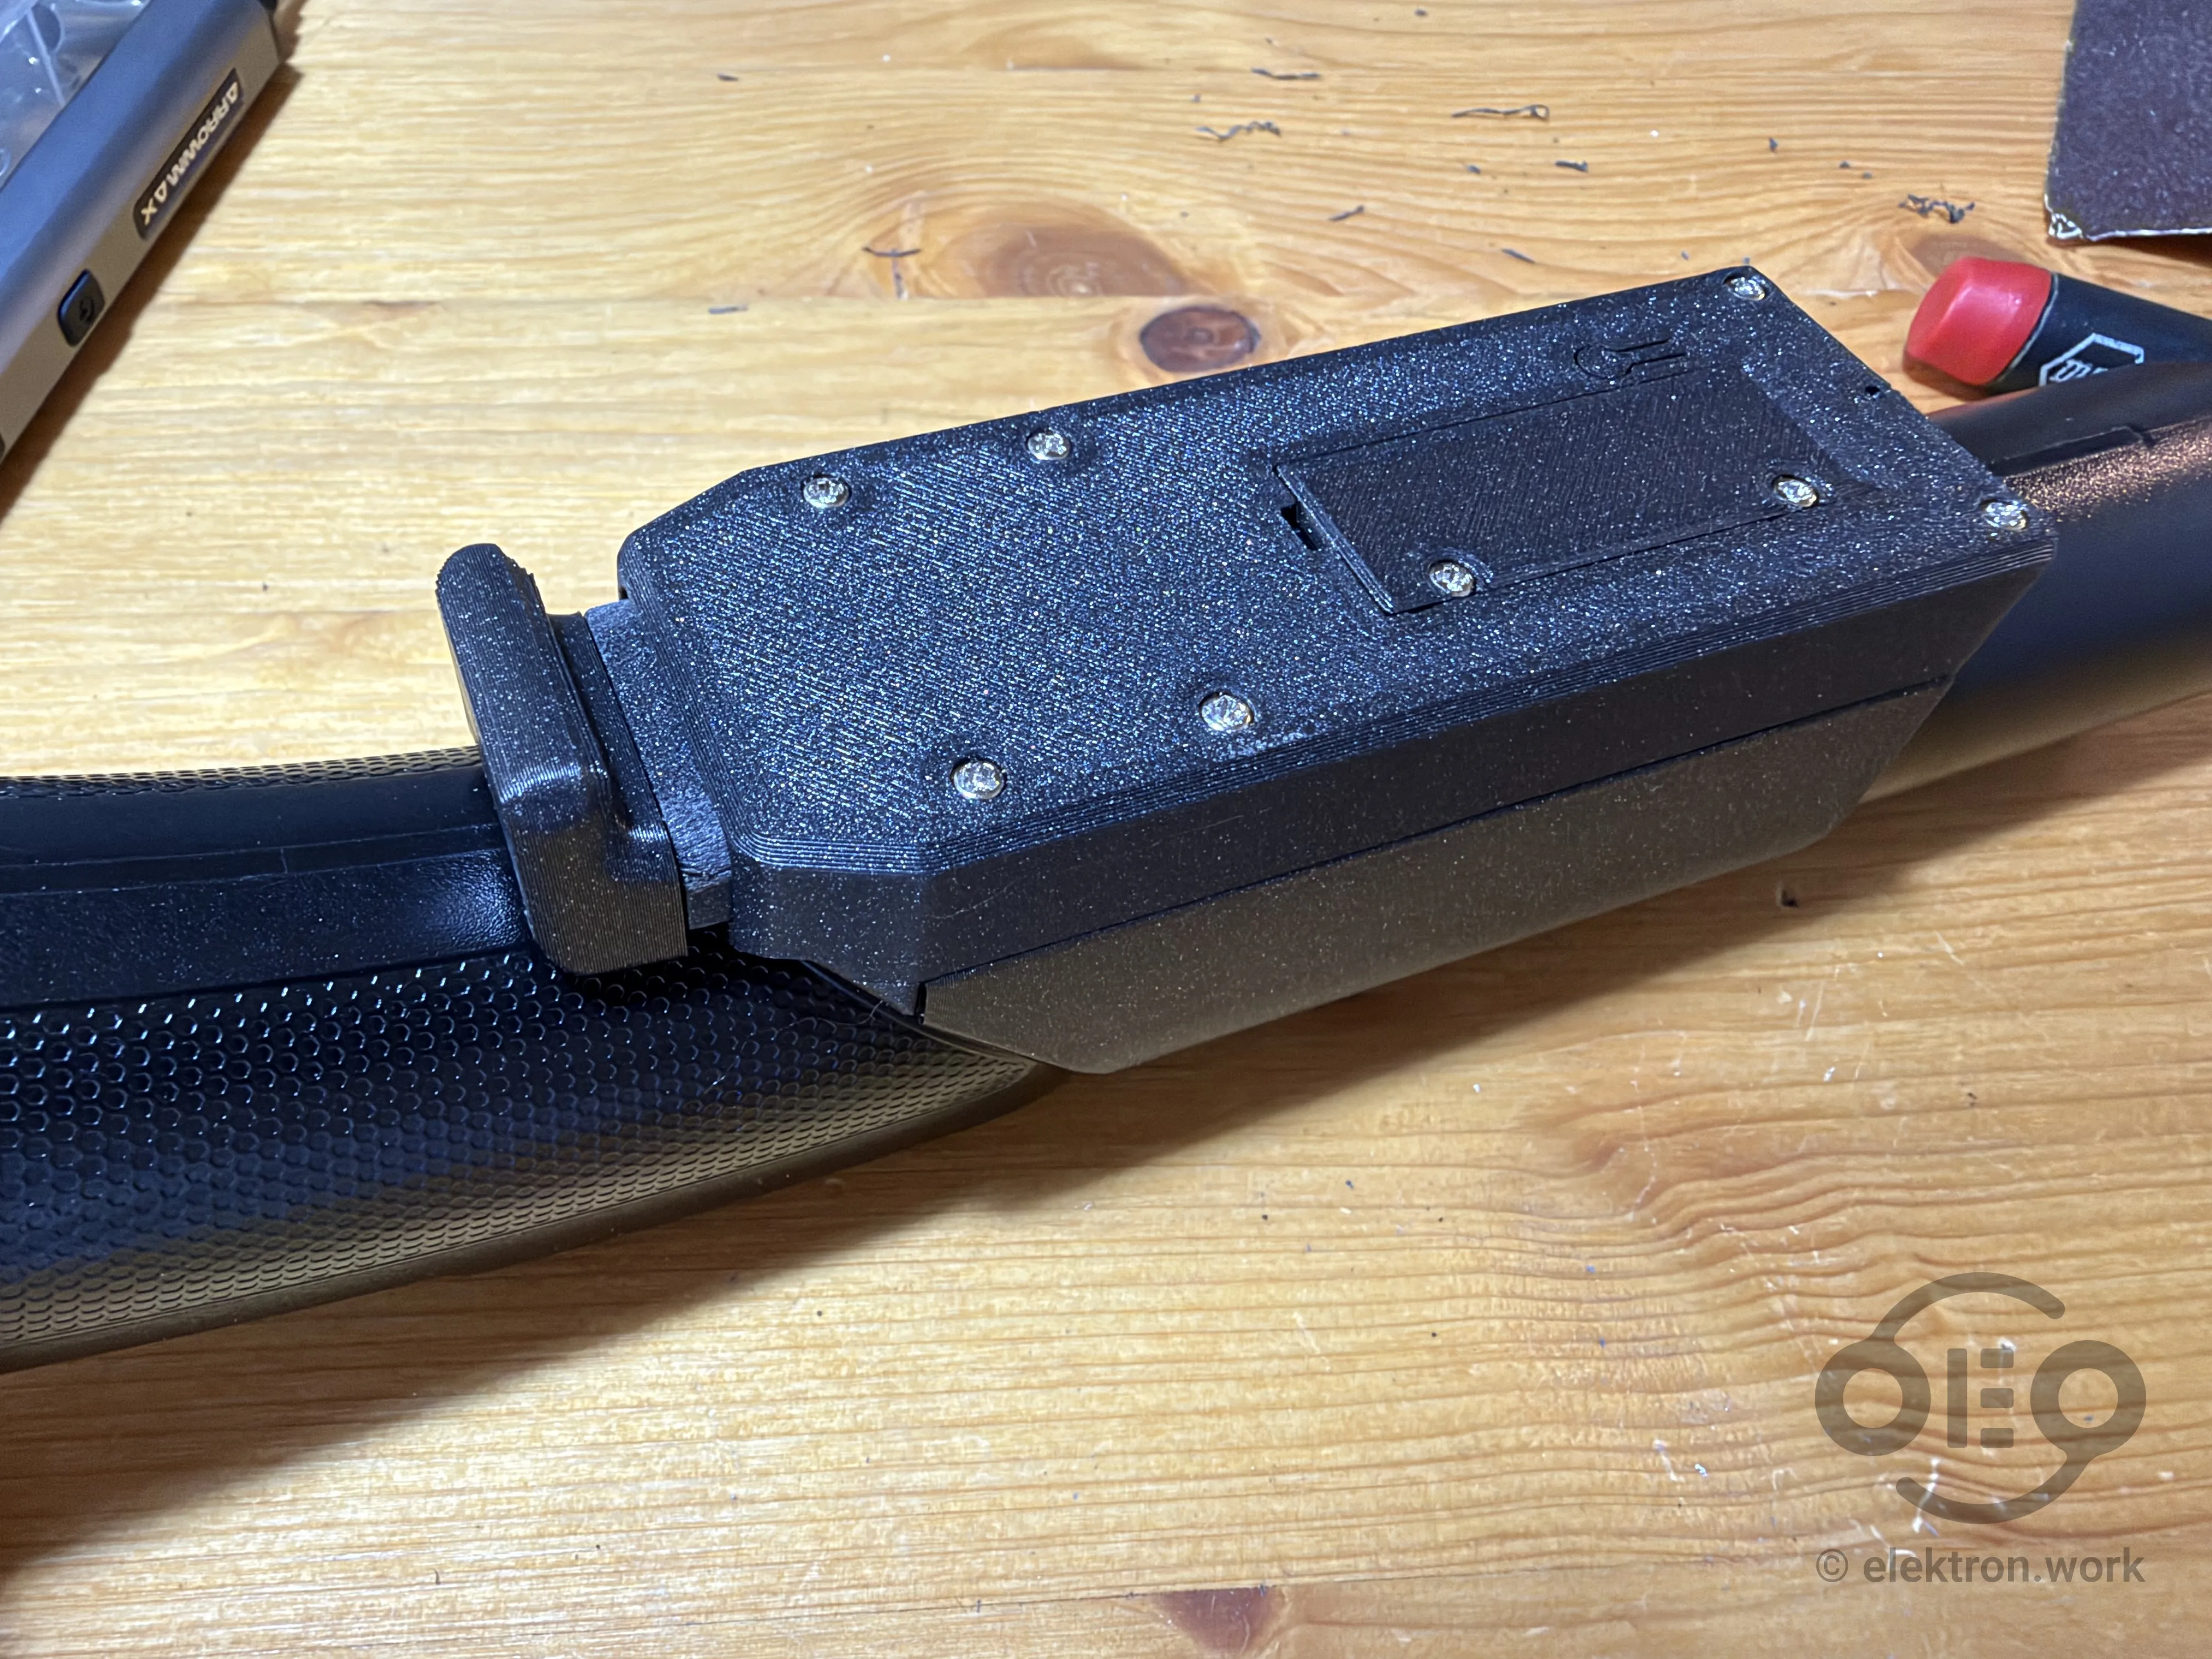
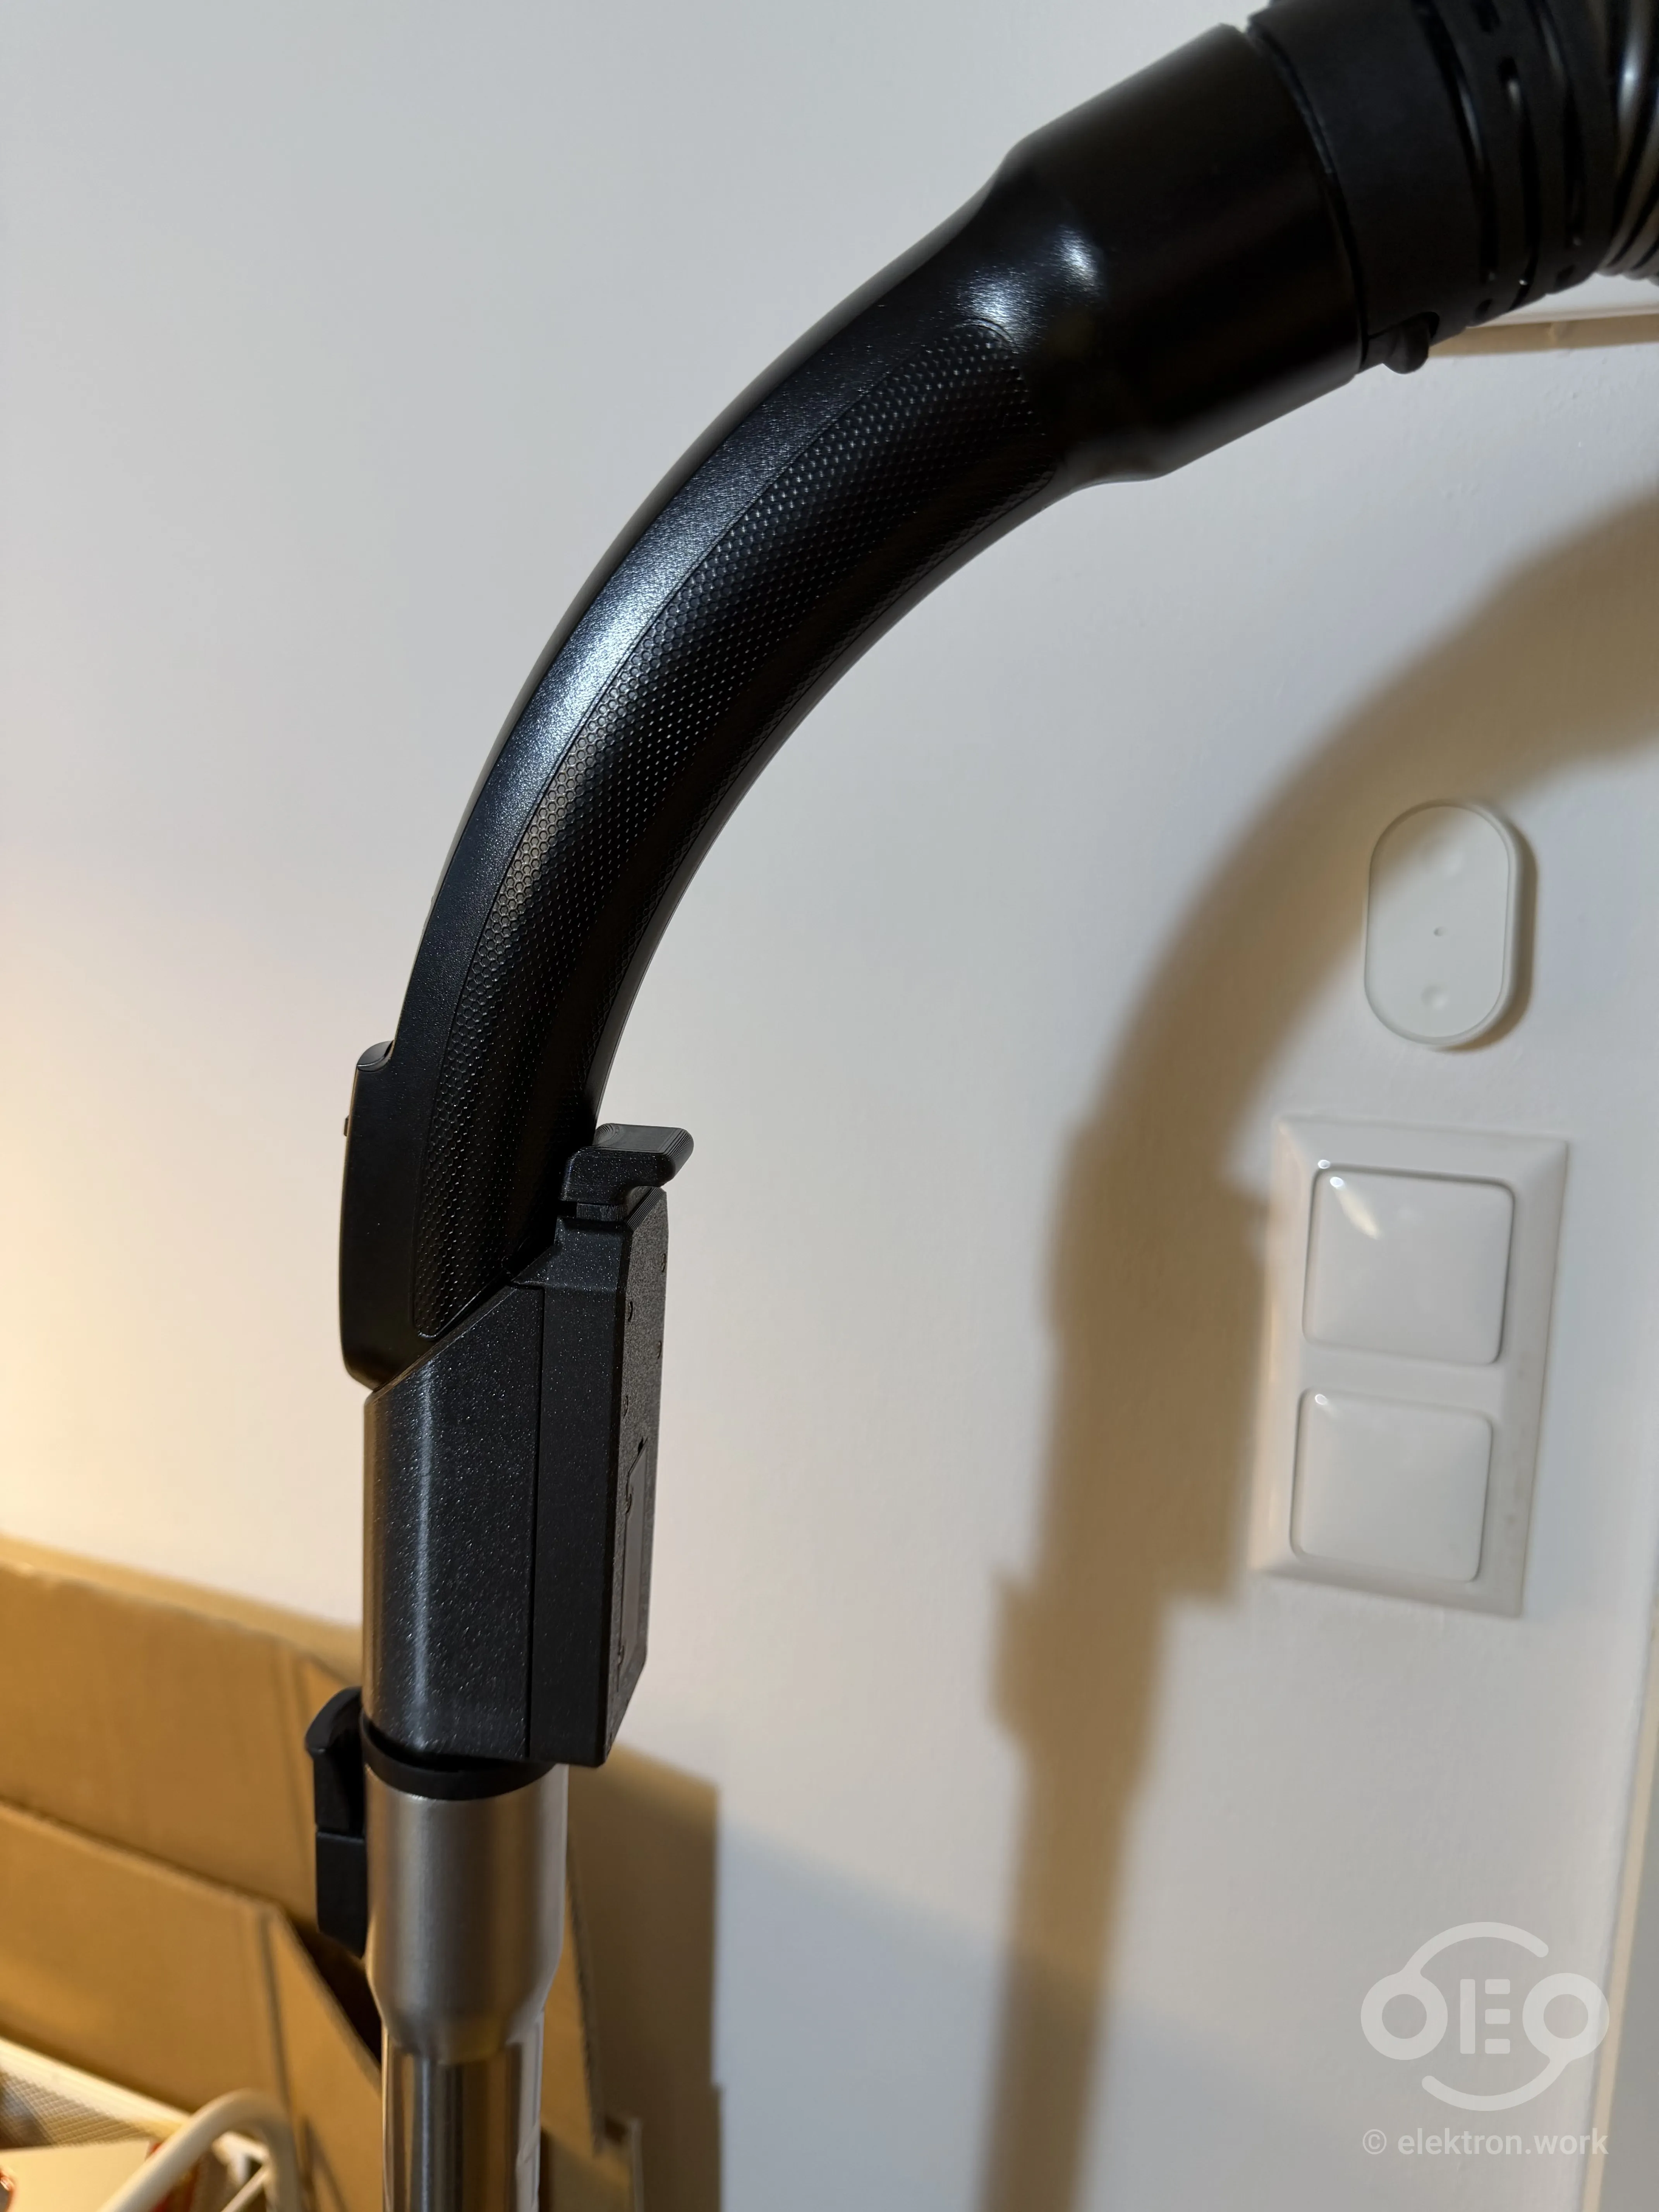
Configuration
There’s not much to say about it as it basically just behaves like a standard ZigBee remote. It’s connected to the smart outlet via Home Assistant automations to give me the maximum flexibility.
Originally I intended one trigger direction to be a momentary switch and the other direction a toggle (I often just need to clean up a little bit of dust). However after using it, I decided it was more practical to simply have “push” mean “on” and “pull” mean off. It’s not the other way around to avoid accidentally turning it off while vacuuming.
Download and Credits
If you are just as passionate about controlling your vacuum cleaner as me and want to replicate this, you can download the STEP files here. Just keep in mind that you may need some small drills to widen the screw-holes to size and some small plastic screws for assembly.
For reference, the vacuum cleaner I made this for is the Miele Guard S1. Other models may have similar handles, but I cannot guarantee compatibility.
I any case, thank you to some members of the GrabCAD community who’s 3D models I used in my design: